

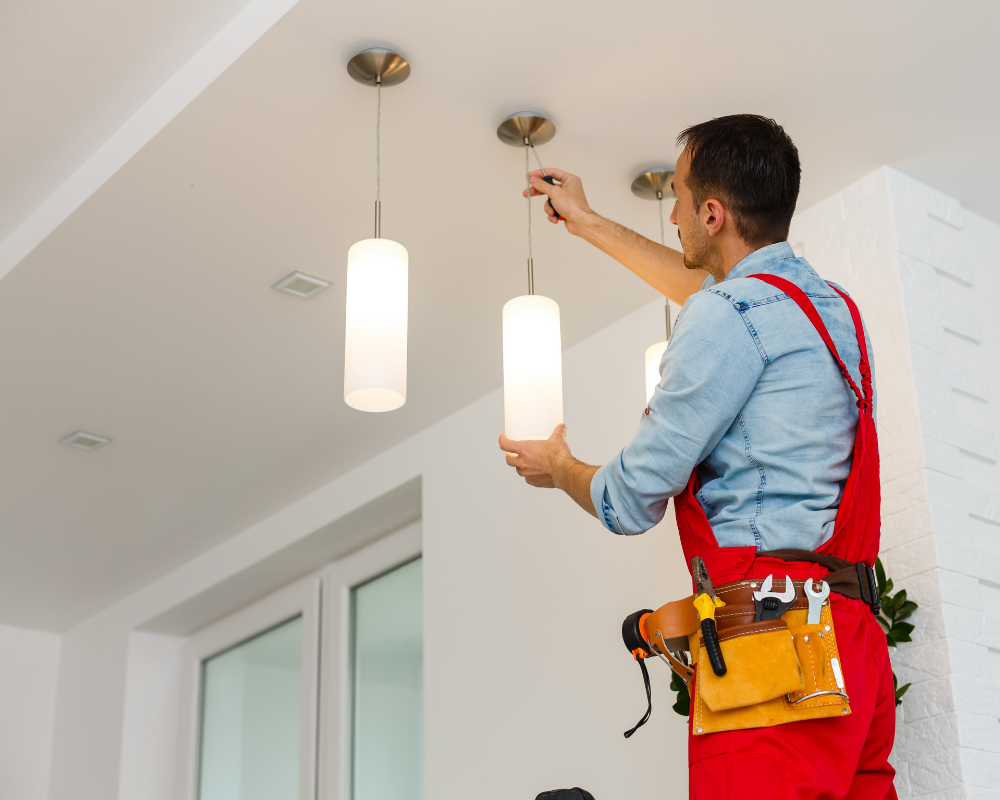
How To Install A Ceiling Fan
How to Install a Ceiling Fan in Your Kiawah Island, South Carolina Home
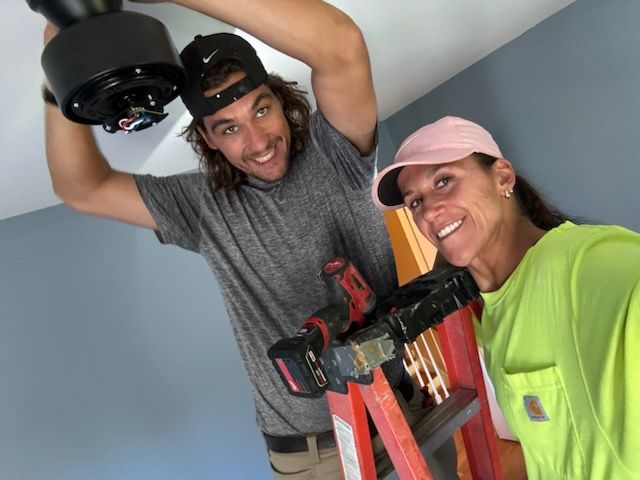
Ceiling fan installations can be a rewarding home improvement project that enhances both comfort and energy efficiency. They are a great way to efficiently cool a space immediately with airflow.
By following the proper steps, utilizing the right tools, and ensuring safety measures are taken, you can install a ceiling fan with confidence. Whether you’re seeking to replace an outdated fixture or add a stylish new element to your Kiawah Island, SC home, the installation process can be straightforward and manageable.
While the installation of a ceiling fan can be an easy do-it-yourself endeavor, it is essential to meticulously adhere to the manufacturer's guidelines to guarantee a safe and correct setup.

YOU JUST
D.I.Y.
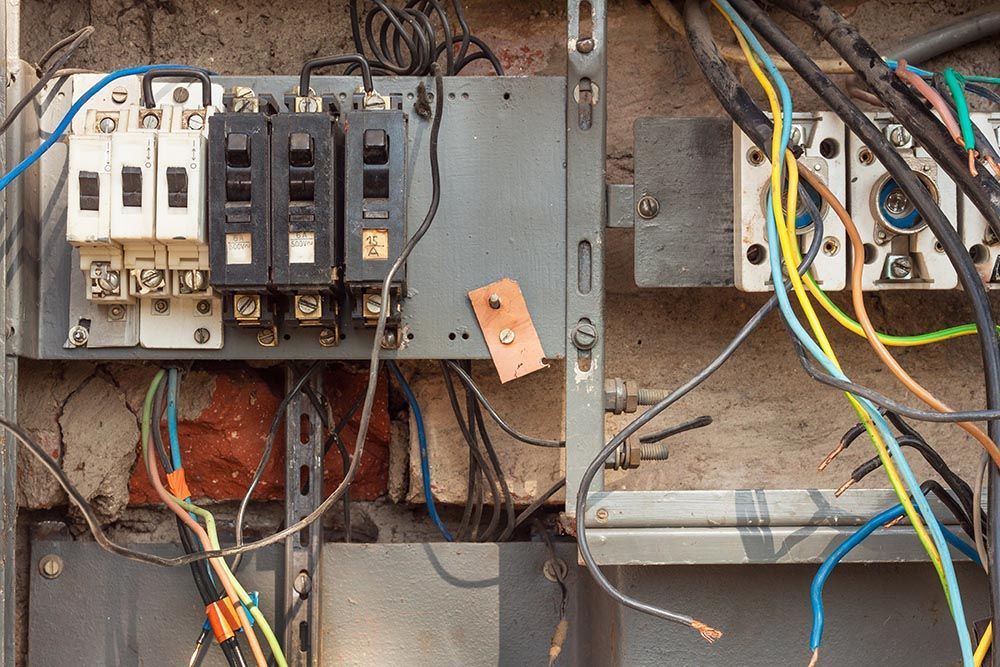
Most Common Issues identified by Electricians:
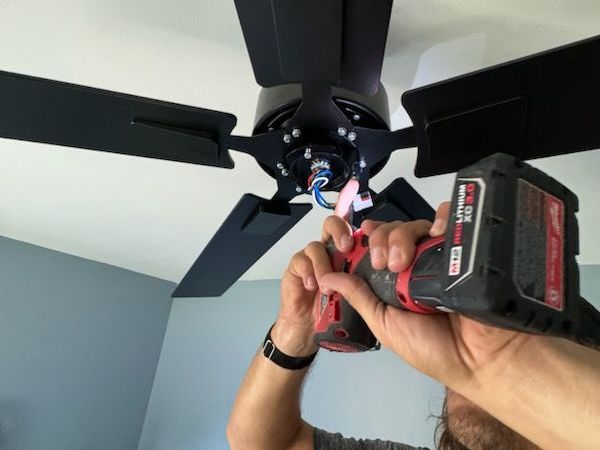
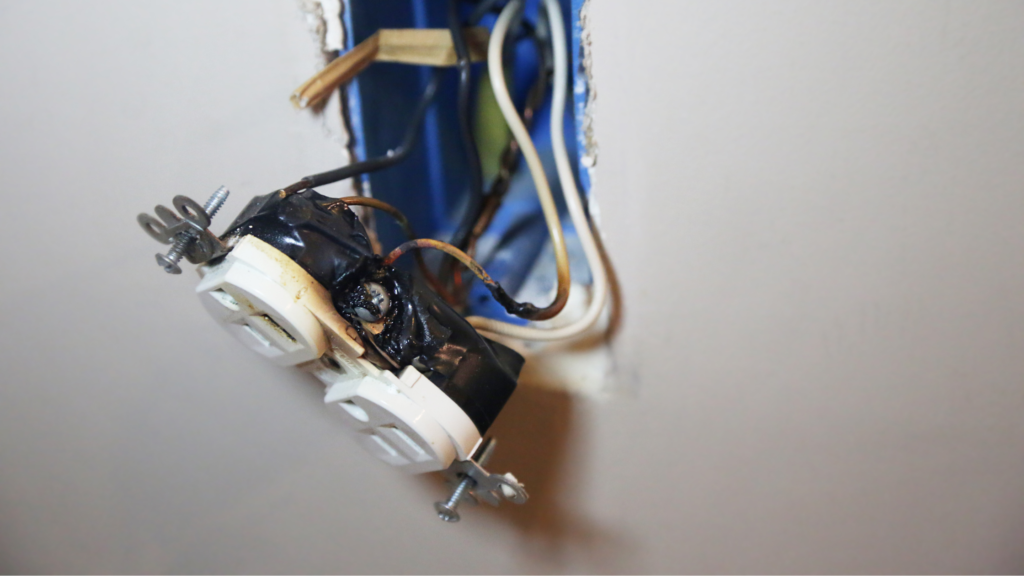
- Improper wiring
- Damaged wiring that creates a short
- Loose connections that create intermittent issues
- Over crowding of junction box that overheats wires in junction box
- Improper junction box installed in ceiling and cannot support installed fan
A Professional Installation:
A professional should be able to install your typical fan in less than an hour. The more required assembly the more time that will be added to the installation.
What does that include?
- Checking for wire damaging and ensuring proper switching
- Double checking proper junction ceiling box has been installed (ceiling boxes need to be rate for fan support)
- Ensuring proper functioning of fan
- Installation will be to manufacturer's guidelines
- Connections to wiring is tight and safe
- Proper remote control setup
- Peace of Mind and Warranty for Installation
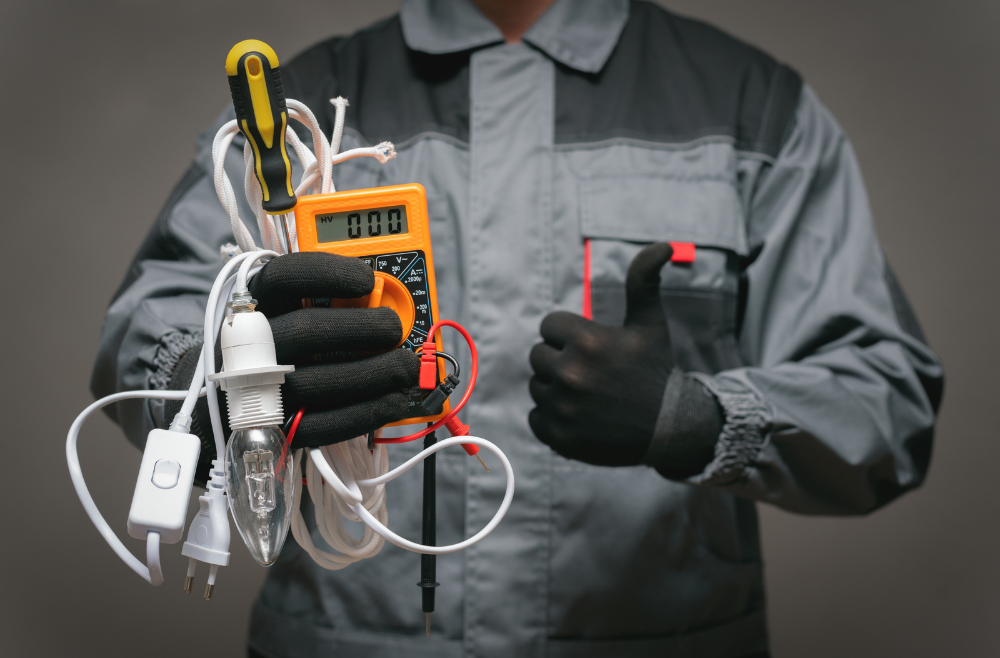
Materials and Tools Required:
Before beginning the installation make sure to have these tools below:
- Ceiling fan
- Ladder
- Screwdrivers (flathead and Phillips)
- Linesman Pliers
- Wire cutter/stripper
- Voltage tester or Pen Tester
- Wirenuts
Below are some general instructions to assist you in the installation process:
1. Begin by switching off the power to the ceiling fan at your circuit breaker or fuse box.
2. Once you have confirmed the power is off, you can start removing the existing fan.
3. Now that the existing fan is removed, you will need to determine that the ceiling box is rated for your fan. Writing imprinted inside the ceiling box will tell you if your ceiling box is rated to support a ceiling fan. If you are unsure or have determined the improper box is installed, it is best to call your local electrician to install the proper box.
4. Next, your fan will come with installation instructions, be sure to follow those instructions very closely.
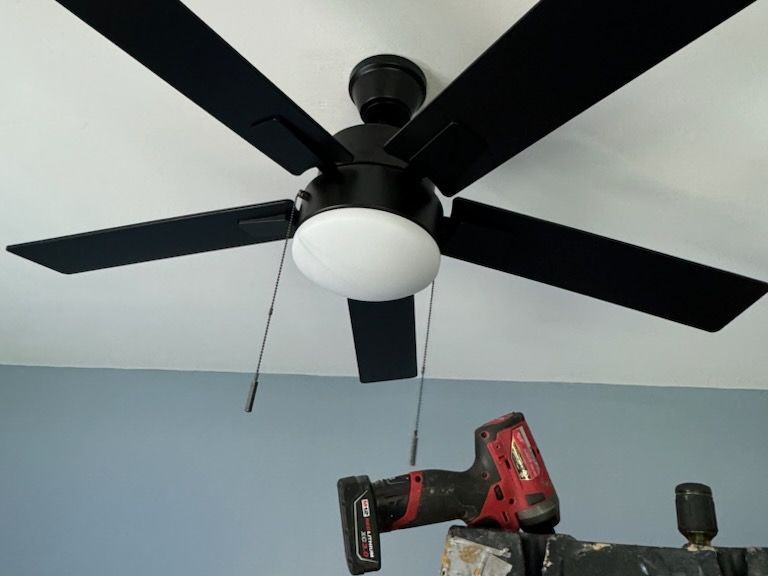
5. Once everything is set up, restore power and test your new ceiling fan to verify that it operates correctly.
6. Should there be any wobbling or noise during operation you will need to double check tightness of installation but if that doesn't fix the problem please reach out to your local electrician.
7. Enjoy fresher air circulation and cooler temperatures in your living space!
In Conclusion
If you're uncertain about handling these installations on your own, it's advisable always to reach out for help from a
qualified electrician since safety should remain paramount when dealing with electrical fixtures.

The Blog By The River